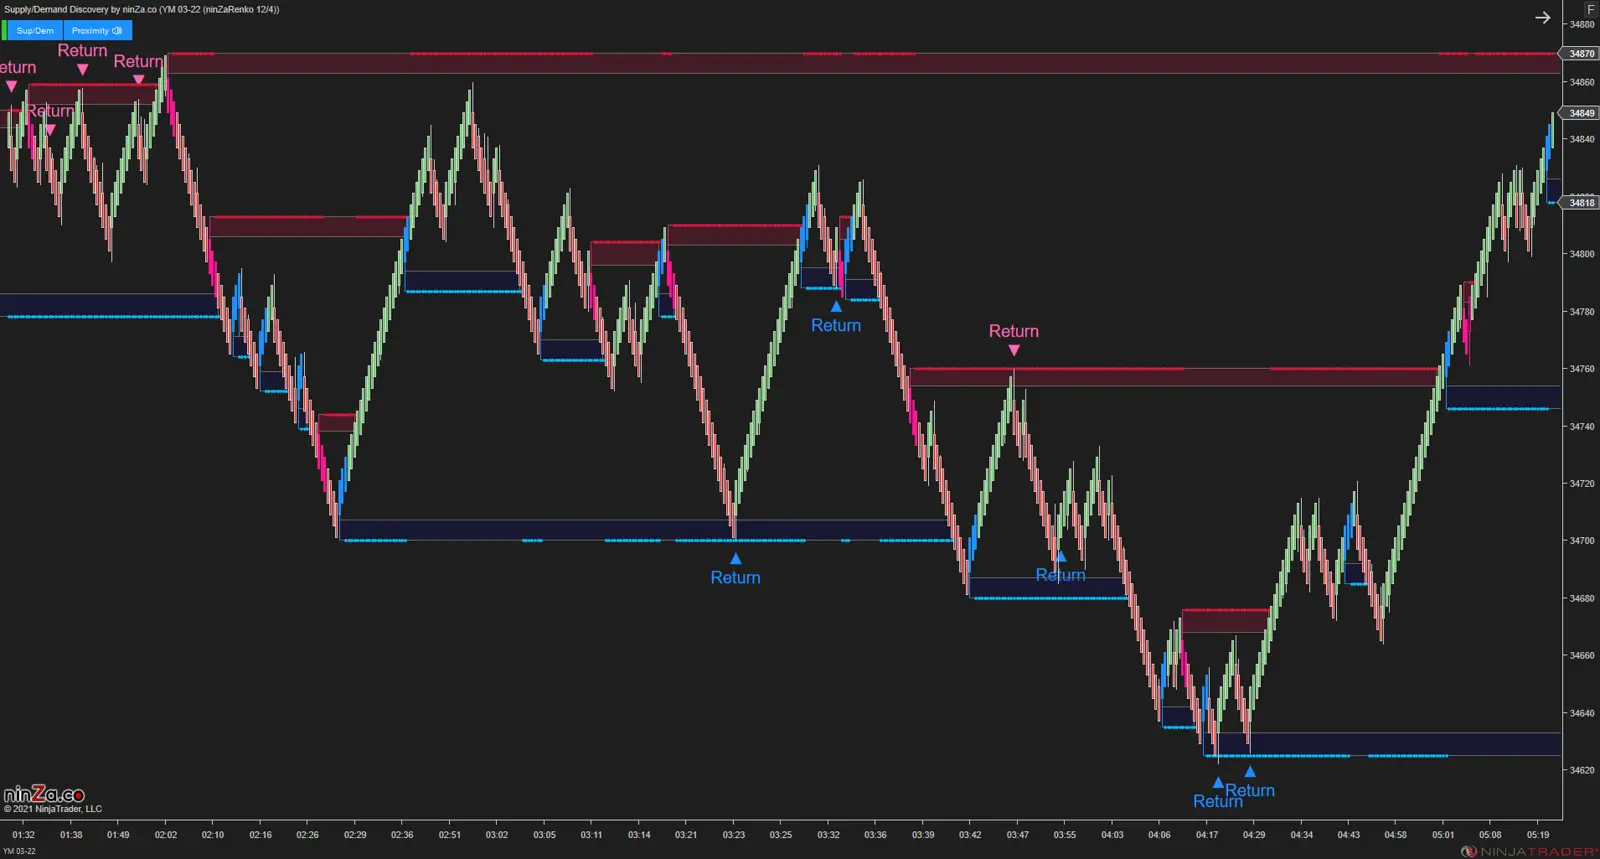
In trading, Supply & Demand zones are areas where strong buying or selling pressure can cause price to reverse or move sharply. These are the key battlegrounds where the “game” between buyers and sellers plays out.
When a trader can understand and correctly identify these zones, they gain a major advantage: Being able to enter trades at high-probability levels with lower risk.

Common Ways to Identify Supply/Demand Zones
There are several popular methods, such as:
- Spotting price zones where strong reversals occurred (rally-base-drop or drop-base-rally).
- Watching for impulsive candles and prior consolidation zones.
- Using tools like Fibonacci to find confluence areas.
- And a highly effective method: Looking for Power Shifts — clear signs of control changing between buyers and sellers.
Power Shifts + Volume = High-Probability Supply/Demand Zones
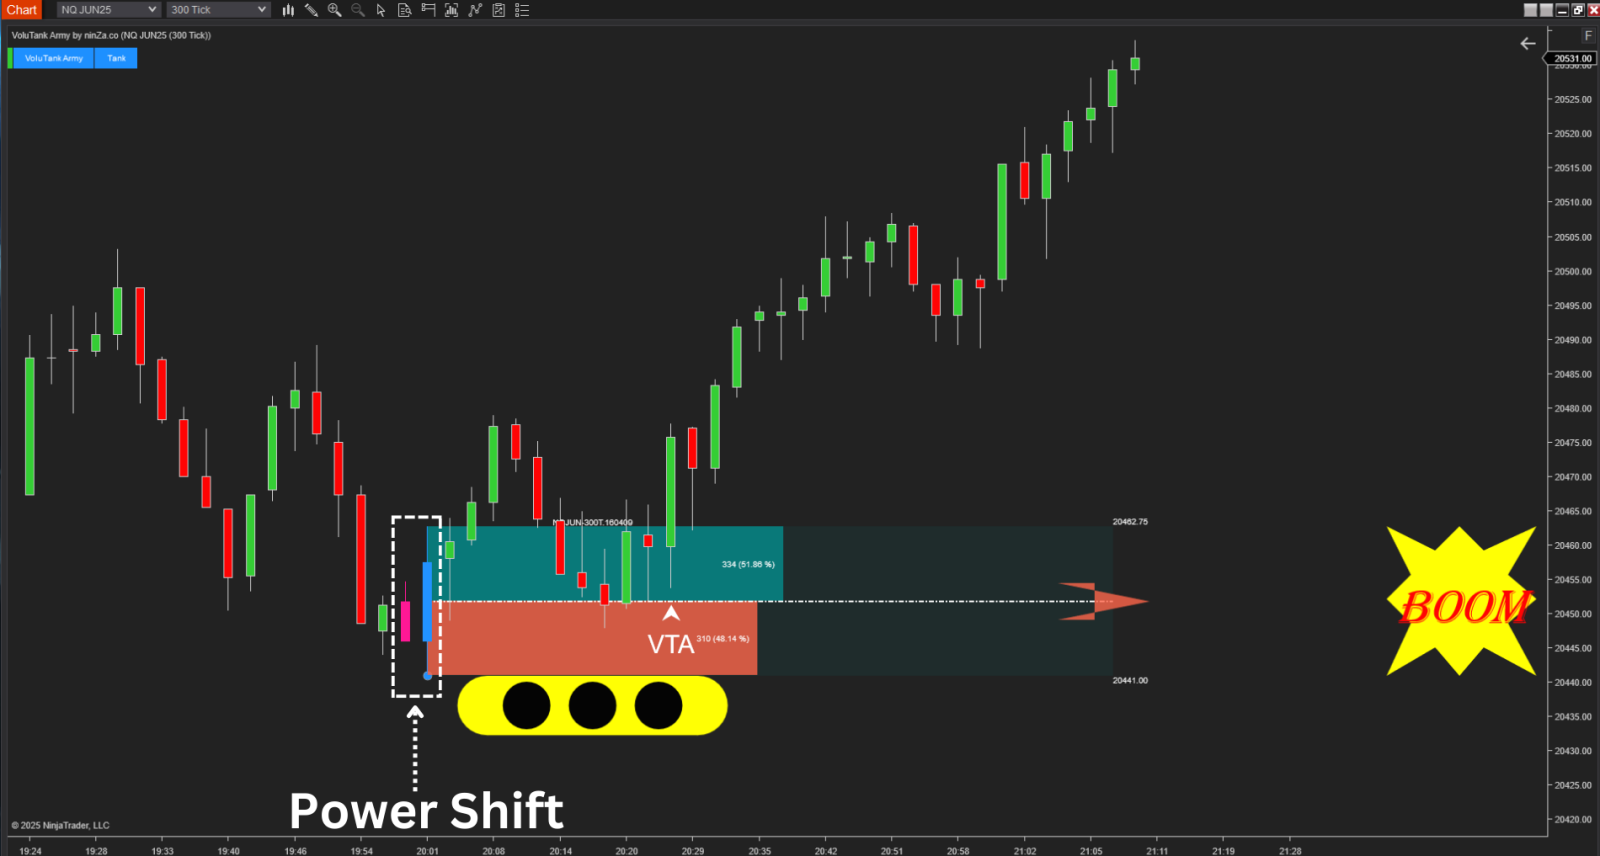
A Power Shift is when control flips from buyers to sellers or vice versa. This shift often happens around Swing Points, which are natural turning points in the market.

But to trust a Power Shift, you need Volume to confirm it.
When Volume confirms a Swing Point (like strong buy volume at a bottom or strong sell volume at a top), it shows that a real battle occurred there. From that, a solid Supply or Demand zone can be drawn around the Power Shift.
This combination — Swing Point + Power Shift + Volume — creates Supply/Demand zones that are not just drawn from patterns, but backed by real market activity.
VoluTank Army: A Volume-Based Supply/Demand Indicator
VoluTank Army is built on exactly this approach: it identifies Supply/Demand zones based on Power Shifts confirmed by Volume at key Swing Points.
But it doesn’t stop there!
VoluTank Army takes it a step further. It analyzes the buy/sell volume inside each zone to give traders a deeper view.
VoluTank Army = Swing points + Power shifts + Volume
- Swing points highlight key market turning areas.
- Power shifts reveal when control shifts between buyers and sellers.
- Volume confirms the true market activity behind the move.
[upl-image-preview url= link=https://ninza.co/shop?src=hellowin]
This gives you several benefits:
- You can see which side is in control inside the zone: buyers or sellers.
- You can avoid trading into absorption, where a zone may look valid but is being quietly broken. If buyers are dominating a supply zone or sellers are building pressure in a demand zone, that’s your early warning to stay out.
- You can make stronger, more confident decisions when price returns to test the zone.
In short, using Volume the right way, especially when combined with Swing Points and Power Shifts, helps you identify higher-quality Supply/Demand zones. And if you're looking for an indicator that makes this process visual, powerful, and easy to read on your chart, VoluTank Army is definitely worth exploring.
Explore VoluTank Army: https://volutank.nt8.ninza.co/
